
 www.backyardboss.net
 Introduction: Building Your Own Chicken Coop
So, you're ready to embark on the fulfilling journey of raising chickens! A key element to their health and happiness is a secure and comfortable coop. While pre-made coops are available, building your own offers customization and cost-effectiveness. This guide provides a step-by-step approach to building a basic, functional chicken coop suitable for a small flock (4-6 chickens).
Step 1: Planning and Design
Before you start hammering, careful planning is crucial. Consider these factors:
- Flock Size: How many chickens do you plan to keep? This determines the coop's size. A general rule of thumb is 4 square feet per bird inside the coop and 8-10 square feet per bird in the run.
- Location: Choose a well-drained area that offers partial shade. Consider proximity to your house and potential predators.
- Budget: Determine how much you're willing to spend on materials.
- Design: Sketch out your coop design. Include dimensions, door locations, window placement (for ventilation), and the location of nesting boxes and roosts. Many free coop plans are available online to inspire or guide you.
Step 2: Gathering Materials
Once your design is finalized, create a materials list. Here's a basic list to get you started, but adjust it based on your specific design:
- Lumber (pressure-treated for the base): 2x4s, 4x4s, plywood sheets
- Roofing material: Shingles, metal roofing, or asphalt roll roofing
- Hardware cloth (1/2 inch mesh): For the run and any windows
- Chicken wire: Optional for additional run enclosure (less predator-proof than hardware cloth)
- Hinges and latches: For doors and nesting boxes
- Screws and nails: Galvanized for weather resistance
- Nesting box material: Scrap wood or plywood
- Roosting bars: 2x4s or tree branches
- Paint or stain (exterior grade): Optional, for weather protection and aesthetics
- Tools: Saw, drill, hammer, measuring tape, level, square, staple gun, safety glasses, gloves
Step 3: Building the Base
A solid base is essential for the coop's stability and longevity.
- Cut the lumber according to your plan's dimensions.
- Assemble the rectangular base frame using screws or nails. Ensure it's square and level.
- If raising the coop off the ground, attach 4x4 posts to the corners of the base.
- Optionally, add a floor to the base using plywood. This protects against predators digging under the coop.
Step 4: Framing the Walls
Construct the walls one at a time, then attach them to the base.
- Cut the wall studs and top/bottom plates according to your plan.
- Assemble each wall frame using screws or nails.
- Install the walls onto the base, ensuring they are plumb (vertical) and square. Secure them to the base with screws.
- Frame openings for the door and windows.
Step 5: Adding the Roof
The roof protects your chickens from the elements.
- Build roof trusses or rafters according to your design.
- Attach the trusses or rafters to the top of the walls.
- Cover the roof frame with plywood sheathing.
- Install roofing material (shingles, metal, etc.) according to the manufacturer's instructions. Overlap the rows for weatherproofing.
Step 6: Building the Run
The run provides outdoor space for your chickens to exercise.
- Frame the run using lumber.
- Enclose the run with hardware cloth. Secure the hardware cloth to the frame using a staple gun. Bury the bottom edge of the hardware cloth several inches into the ground to deter digging predators. Chicken wire can be used as additional security, but hardware cloth is recommended.
- Build a door for the run, and install hinges and a latch.
- Attach the run to the coop, providing access for the chickens. You can create a small pop door between the coop and the run.
Step 7: Adding Nesting Boxes and Roosts
These are essential for the comfort and well-being of your chickens.
- Build nesting boxes from scrap wood or plywood. A general size is 12x12x12 inches. Provide one nesting box for every 3-4 chickens.
- Install the nesting boxes inside the coop, at a comfortable height for the chickens.
- Install roosting bars inside the coop. Roosting bars should be 2-4 feet off the ground.
Step 8: Finishing Touches
These final steps enhance the coop's functionality and appearance.
- Install the coop door, complete with hinges and a secure latch to keep predators out.
- Install windows (if included in your design) and cover them with hardware cloth for ventilation and protection.
- Paint or stain the exterior of the coop for weather protection and aesthetics. Ensure the paint/stain is chicken safe.
- Add bedding to the coop floor (straw, wood shavings, etc.).
Conclusion: Enjoy Your New Chicken Coop!
Congratulations! You've successfully built your own chicken coop. With proper planning and construction, your chickens will have a safe and comfortable home for years to come. Regularly clean the coop, provide fresh food and water, and enjoy the rewarding experience of raising your own chickens! Remember to adapt these steps to your specific design and needs.
Omlet Eglu Chicken Coop Reviews
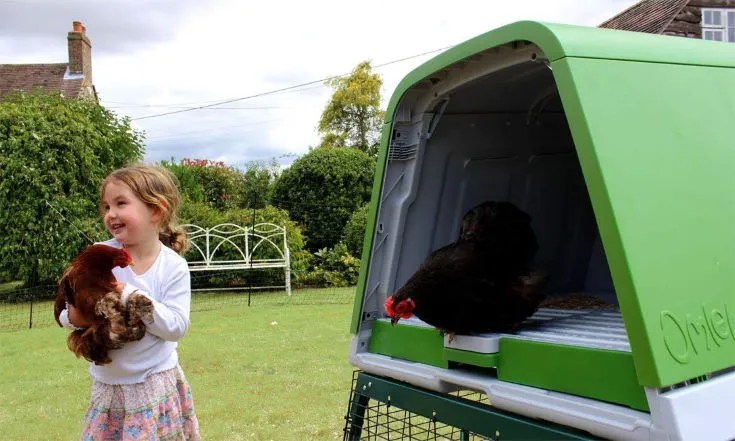
www.backyardboss.net Omlet's Eglu Chicken Coop: Is It Worth The Money? A Review.
 www.raising-happy-chickens.com
 Omlet Eglu Chicken Coop Reviews
 www.backyardboss.net


0 komentar:
Posting Komentar