
 localrevive.com
 Opening: A Durable DIY Storage Shed Project Tired of clutter overwhelming your backyard? Building your own storage shed is a rewarding project that not only declutters your space but also adds value to your property. This step-by-step guide will walk you through constructing a robust and functional storage shed, perfect for tools, gardening equipment, or anything else you need to tuck away. Remember to check local building codes and obtain any necessary permits before beginning construction. This guide is generalized; modifications may be necessary based on your specific needs and location.
Step 1: Planning and Preparation Begin with a detailed plan. Consider these factors: Shed Size: Determine the dimensions based on your storage needs and available space. Sketch a basic floor plan and elevation views. Foundation Type: Choose between a gravel pad, concrete slab, or wood skid foundation. Concrete offers the most durability and stability, while gravel is a more cost-effective option. Materials List: Create a comprehensive list of lumber, siding, roofing, hardware, and any other materials required. Accurate measurements will save you time and money. Tools: Gather necessary tools, including a measuring tape, level, saw (circular or reciprocating), drill, hammer, square, safety glasses, work gloves, and a post-hole digger (if using posts).
Step 2: Building the Foundation The foundation is the base of your shed and crucial for its longevity. Gravel Pad: Excavate the area to the desired depth (typically 4-6 inches). Compact gravel in layers using a plate compactor. Ensure the pad is level. Concrete Slab: Pour a concrete slab according to your plan. Use reinforcing mesh for added strength. Ensure the slab is level and allow it to cure properly. Wood Skid Foundation: Construct a frame using pressure-treated lumber. Level the frame using shims and place it on concrete blocks or gravel pads for support.
Step 3: Framing the Walls Constructing the wall frames is the next critical step. Cut Lumber: Cut all lumber pieces to the required lengths according to your plan. Assemble Frames: Build each wall frame using studs, top plates, and bottom plates. Space studs 16 inches on center for structural integrity. Ensure frames are square. Raise and Secure Walls: Raise the wall frames one at a time, ensuring they are plumb and square. Use temporary bracing to hold them in place. Fasten the walls together at the corners using screws or nails.
Step 4: Installing the Roof The roof protects your shed from the elements. Rafters or Trusses: Install rafters or pre-fabricated trusses according to your plan. Ensure they are properly spaced and securely attached to the wall frames. Sheathing: Cover the rafters or trusses with roof sheathing (plywood or OSB). Nail or screw the sheathing securely to the frame. Roofing Material: Install roofing felt as a moisture barrier. Then, install your chosen roofing material (shingles, metal roofing, etc.) according to the manufacturer's instructions.
Step 5: Adding Siding and Doors Adding siding and doors will start to enclose the shed. Siding: Install siding to the exterior walls. Options include wood siding, vinyl siding, or metal siding. Overlap siding appropriately and fasten it securely to the framing. Door Frame: Frame the door opening using lumber. Ensure the frame is square and plumb. Install Door: Install the door according to the manufacturer's instructions. Ensure it swings freely and latches securely.
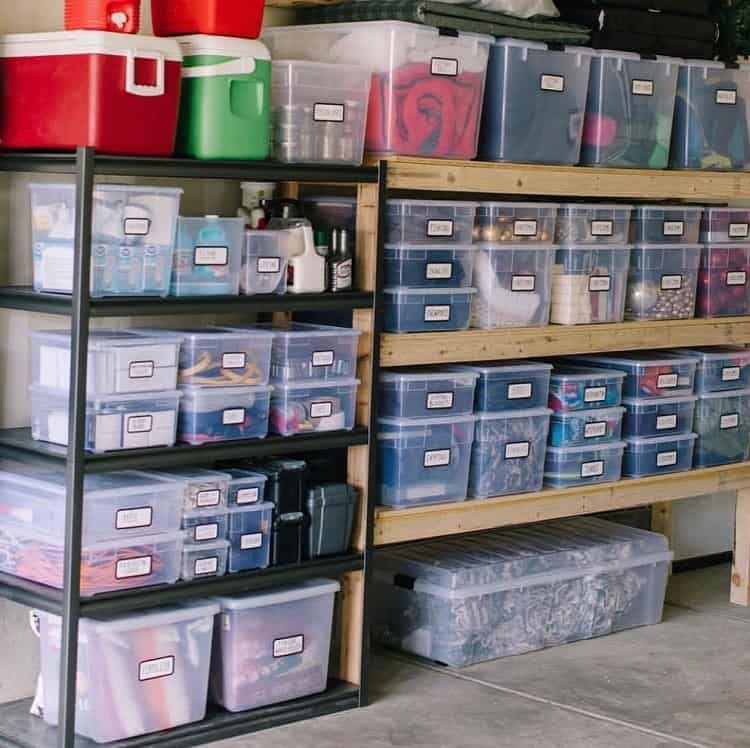
Step 6: Finishing Touches These smaller details will improve the function and appearance of your shed. Windows (Optional): Install windows to provide natural light and ventilation. Flooring: Install flooring inside the shed. Options include plywood, concrete, or gravel. Interior Shelving: Build and install shelves to maximize storage space. Painting/Sealing: Paint or seal the exterior of the shed to protect it from the elements and enhance its appearance.
Conclusion: Enjoy Your New Storage Shed! Congratulations! You've successfully built your own storage shed. With careful planning, diligent work, and the right materials, you now have a functional and valuable addition to your property, providing much-needed storage space and enhancing your outdoor living area. Remember to regularly maintain your shed to ensure its longevity and continued usability.
A Comprehensive Guide On Warehouse Storage
 barbaraiweins.com
 The Top 50 Basement Storage Ideas
localrevive.com Understanding Storage Units
 adviceguru.com


0 komentar:
Posting Komentar