
 infoupdate.org
 Introduction: Building a Miniature Timber Frame Structure Want to explore the beauty and strength of timber framing on a smaller scale? This guide will walk you through the process of creating a miniature timber frame structure. It's a great way to learn the basic joinery techniques and appreciate the intricacies of this ancient building method. Prepare for some careful measuring, precise cutting, and a rewarding hands-on experience.
Materials and Tools: Gather Your Supplies Before you begin, make sure you have the necessary materials and tools. This will ensure a smooth and efficient building process. You will need:
- Small, straight pieces of wood (pine, basswood, or similar softwoods are ideal) – dimensions will depend on the desired size of your model. Consider using 1/2" x 1/2" or 3/4" x 3/4" pieces.
- Wood glue
- A saw (hand saw, coping saw, or miter saw)
- A ruler or measuring tape
- A pencil
- A chisel (optional, but helpful for cleaning up joints)
- Sandpaper
- Clamps (small clamps are best)
- Safety glasses
Step 1: Design and Plan Start by sketching out your miniature timber frame design. Consider the overall dimensions, the number of bays, and the types of joints you want to use. Common timber frame joints include mortise and tenon, lap joints, and bridle joints. Simple mortise and tenon joints are a good starting point for beginners. Decide on the scale of your model; for example, 1 inch could represent 1 foot in a real structure. Write down all your measurements.
Step 2: Cutting the Timber Carefully measure and cut all the pieces according to your plan. Accuracy is crucial for a strong and well-fitting frame. Label each piece as you cut it (e.g., "Post," "Beam," "Rafter") to avoid confusion later. Always double-check your measurements before cutting. Use safety glasses to protect your eyes.
Step 3: Creating the Joints (Mortise and Tenon Example) For mortise and tenon joints, the mortise is the hole, and the tenon is the tongue that fits into the hole.
- Cutting the Mortise: On the piece that will receive the mortise, mark the outline of the mortise. Use a drill to remove most of the material inside the marked area. Finish cleaning up the mortise with a chisel, ensuring the sides are straight and the bottom is flat.
- Cutting the Tenon: On the piece that will form the tenon, mark the outline of the tenon, leaving shoulders that will rest against the face of the mortise piece. Carefully saw away the excess material to create the tenon.
Step 4: Assembling the Frame Apply a small amount of wood glue to the mortise and tenon joint. Carefully insert the tenon into the mortise. Use clamps to hold the joint in place while the glue dries. Ensure the frame is square and aligned correctly before the glue sets. Repeat this process for all the joints in your timber frame.
Step 5: Finishing Touches Once the glue is completely dry, remove the clamps. Sand any rough edges or imperfections on the timber frame. You can apply a finish to the wood, such as stain or varnish, to enhance its appearance and protect it from moisture.
Conclusion: Admire Your Handiwork Congratulations! You have successfully built a miniature timber frame structure. This project provides a tangible understanding of timber framing principles and joinery techniques. It can also serve as a decorative piece or a starting point for more complex miniature building projects. With practice, you can explore different joint types and create increasingly intricate timber frame designs.
Timber Frame House Plans Free
infoupdate.org Authentic Timber Frame Homes
 pineridgetimberframe.com
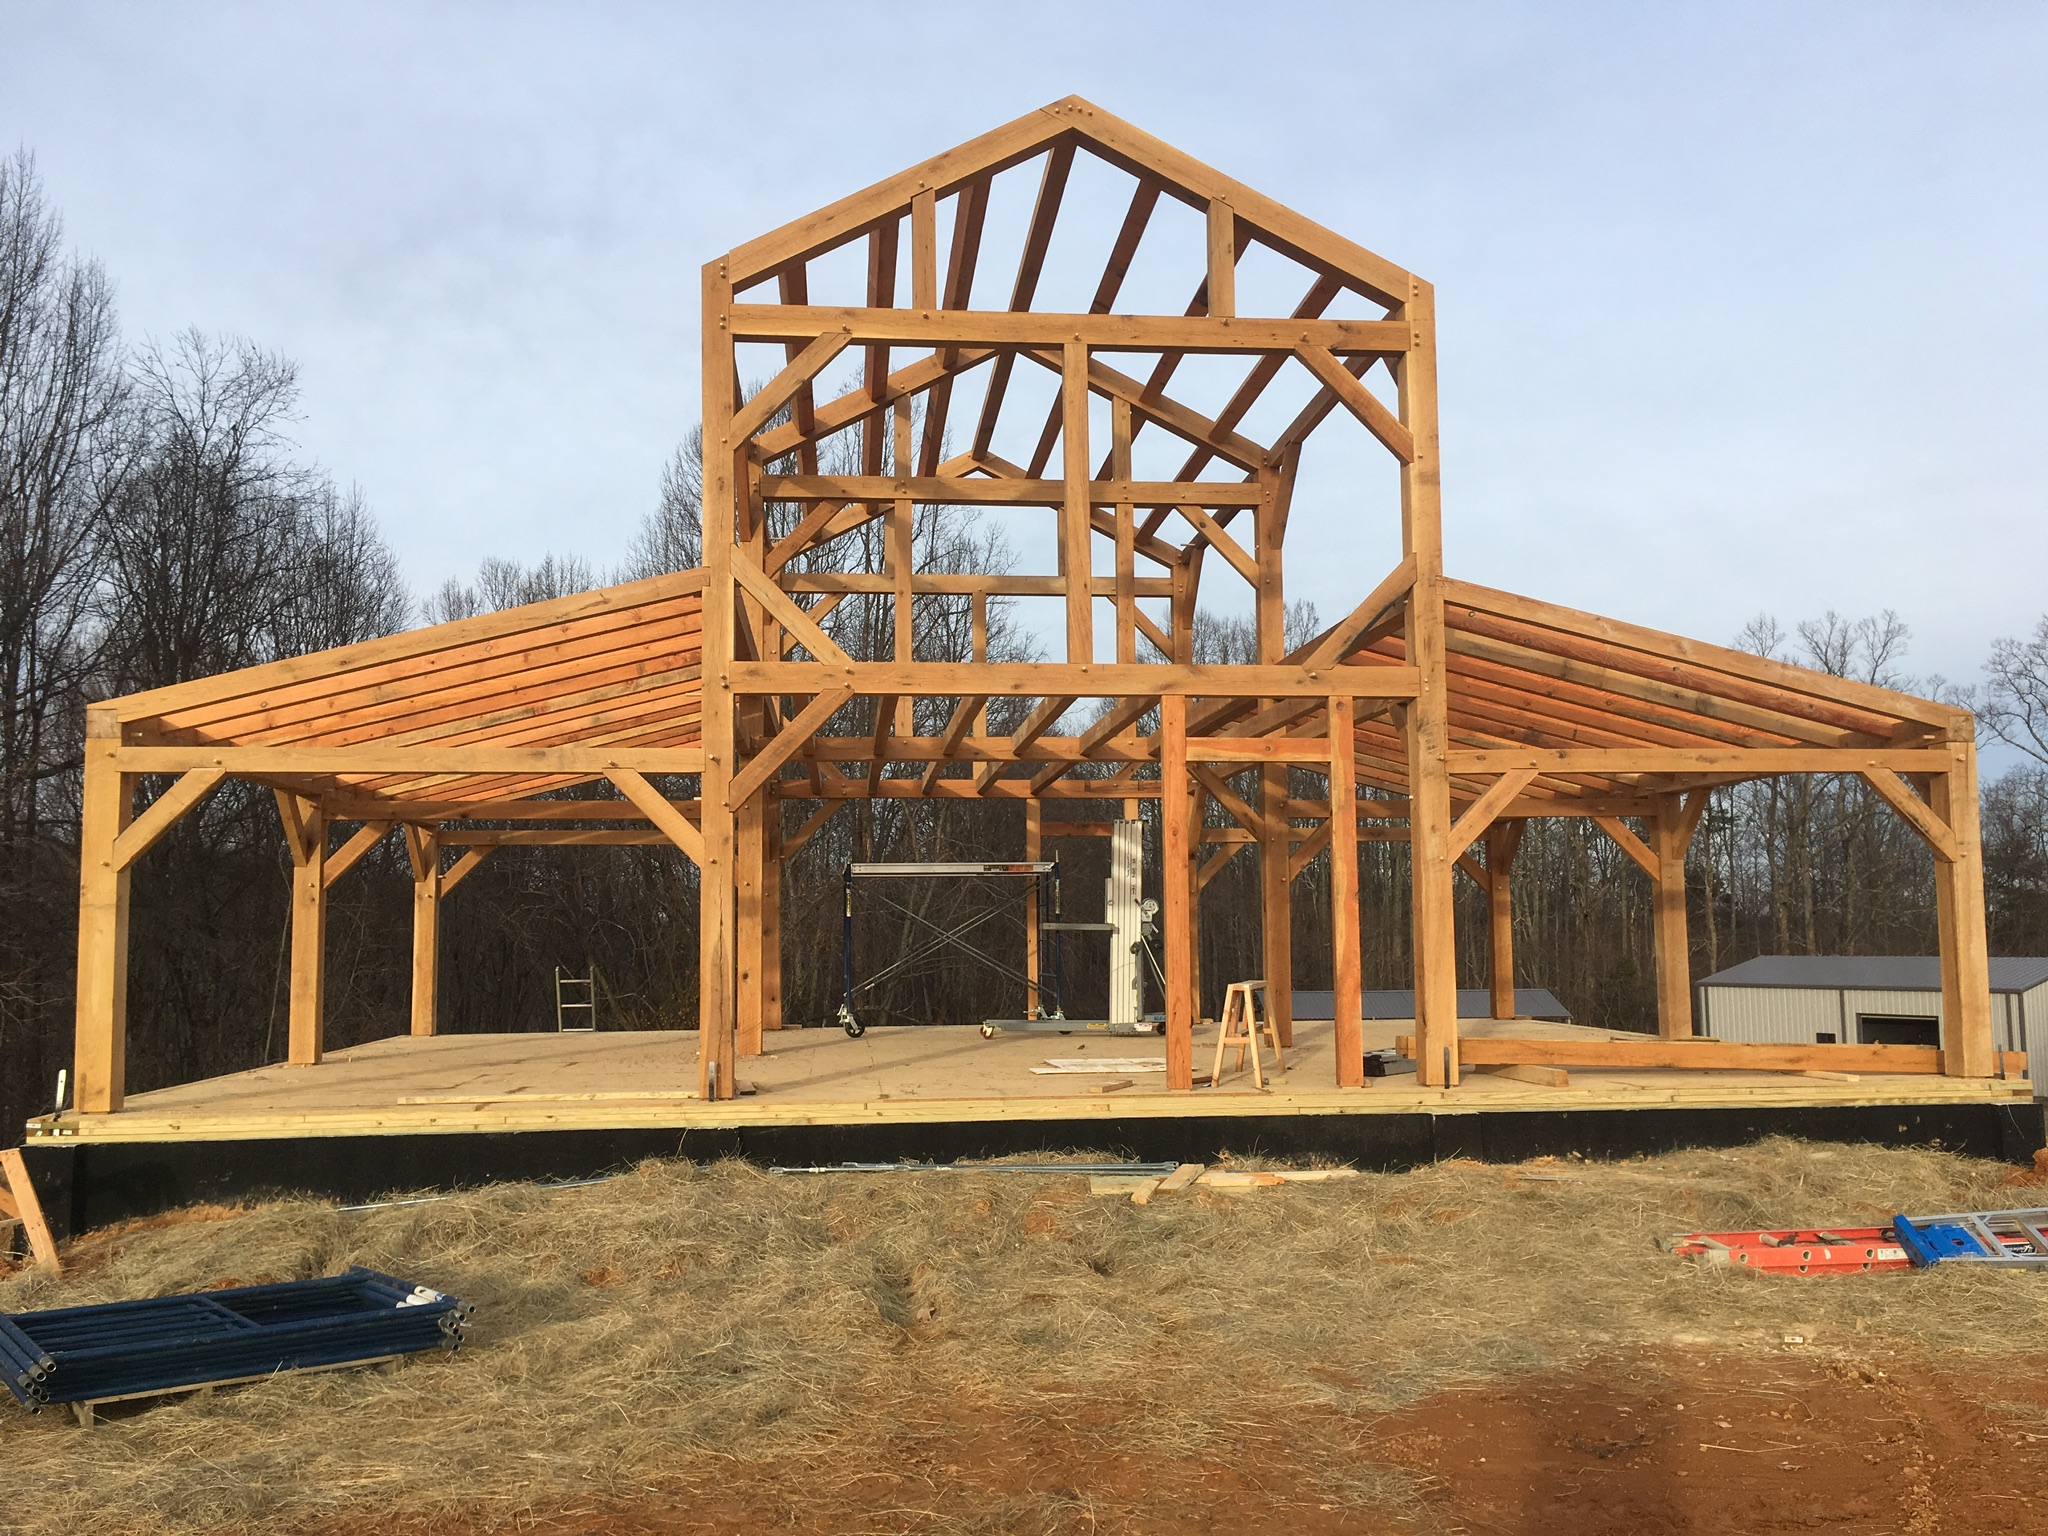
 Timber Frame Build
 woodlandmills.ca


0 komentar:
Posting Komentar